UV Inspection Table: Ensuring Quality Control in Conformal Coating Processes
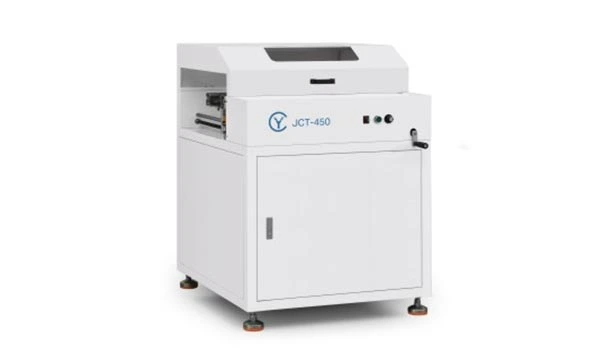
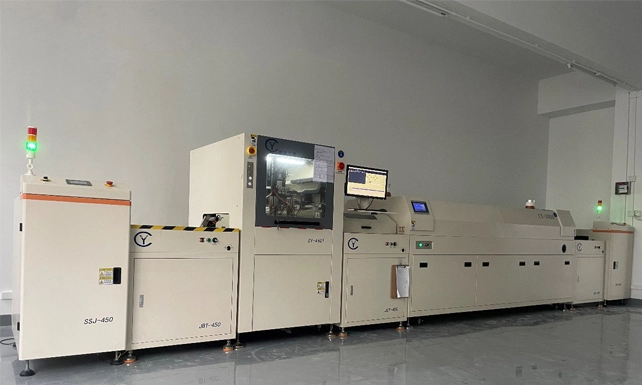
This UV inspection table enables real-time visual verification of conformal coating application post-spraying. Equipped with high-intensity UV-A lighting, it reveals coating uniformity, voids, or excess material on PCBs, ensuring compliance with IPC-CC-830 standards. Adjustable brightness and magnification enhance defect detection, even in shadowed or dense component areas. Anti-static surfaces protect boards during inspection, while ergonomic design reduces operator fatigue. Integrated into coating lines, it prevents curing defects and costly rework, optimizing yield for automotive, telecom, and industrial electronics. Durable, industrial-grade construction supports 24/7 operation, making it indispensable for high-reliability manufacturing where flawless environmental protection is non-negotiable.
The Role of a UV Inspection Table in Detecting Coating Defects on PCBs
This UV inspection table identifies critical coating flaws—pinholes, bubbles, or uneven coverage—by illuminating PCBs with controlled UV-A light, revealing hidden defects post-application. High-resolution cameras or magnifiers enable detailed analysis of thin spots or excess material near connectors and fine-pitch components. Integrated with automated alert systems, it flags non-compliant areas per IPC-CC-830, allowing immediate corrections before curing. Ergonomic and static-safe, it streamlines QA workflows in aerospace, automotive, and medical electronics manufacturing. By preventing field failures and reducing scrap rates, it ensures coatings meet rigorous environmental protection standards, safeguarding PCB reliability in mission-critical applications.


